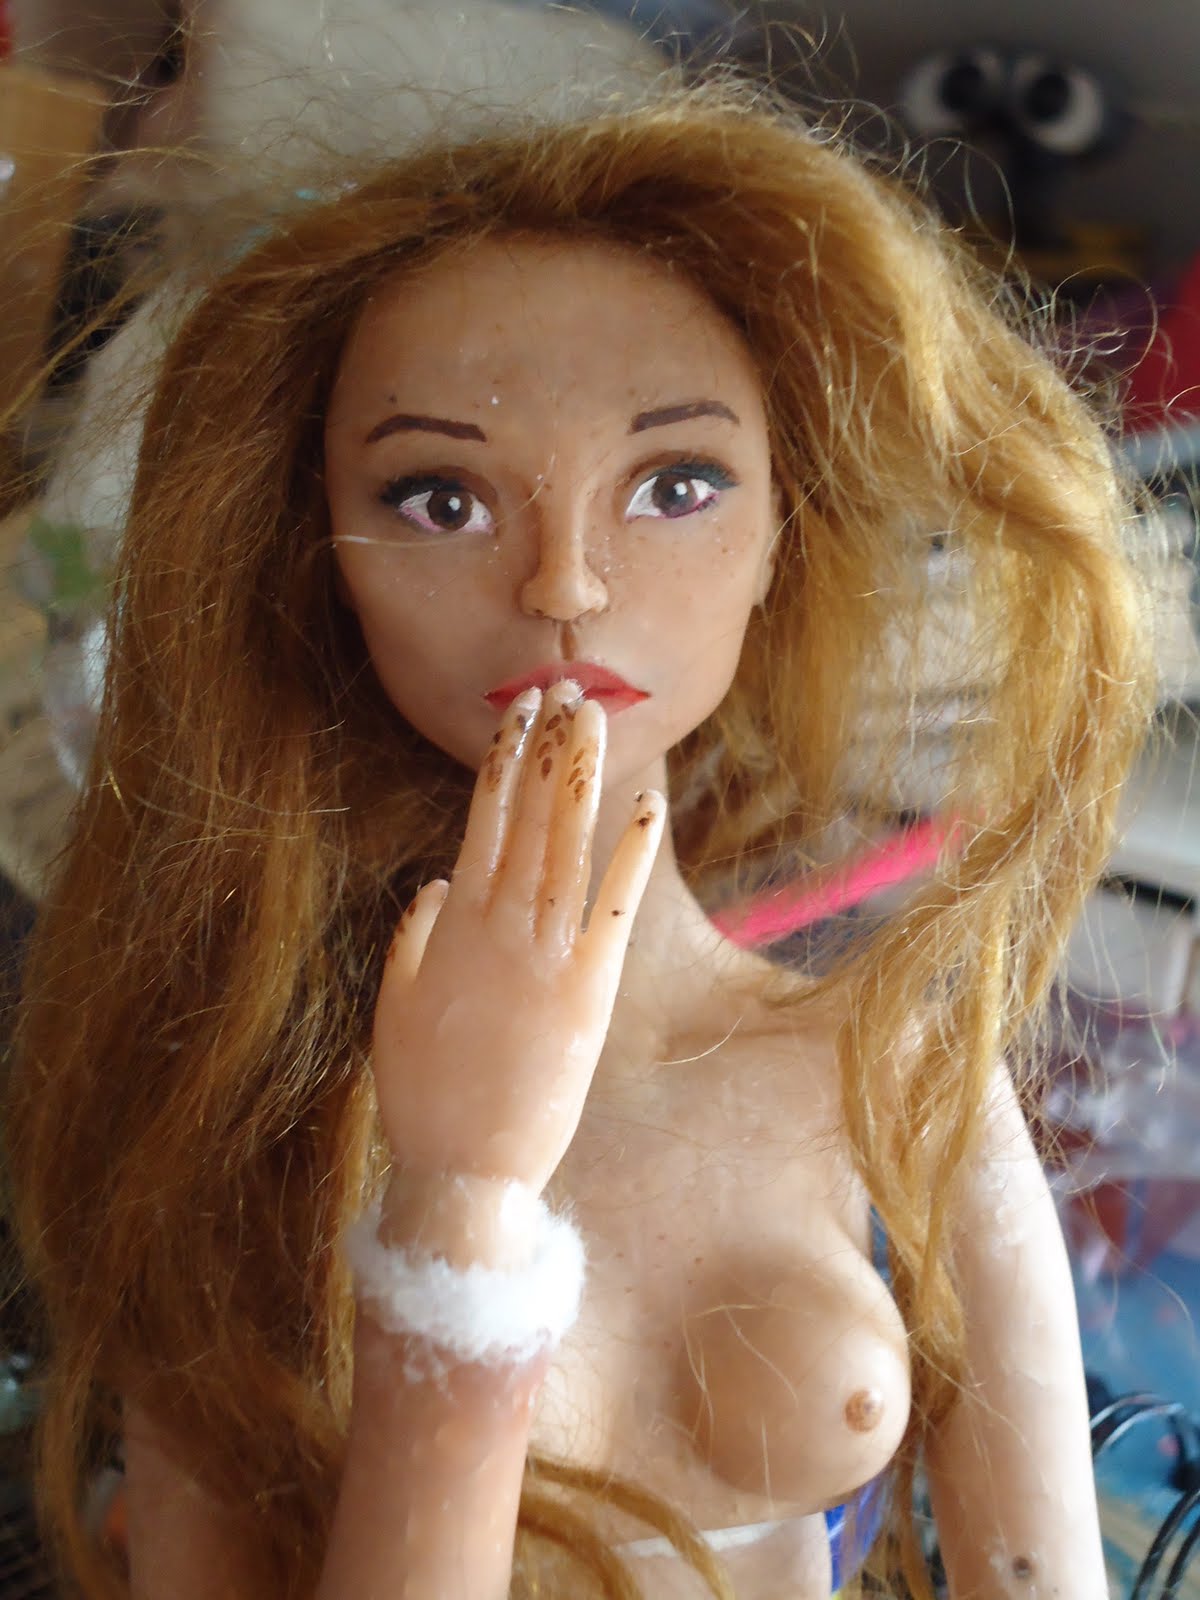
I have not posted for so long. I'm sorry. Busy with other college work but I will be remaking the doll as a project in the summer - joining it onto the end of my college project...
Thursday, 22 March 2012

Thursday, 8 September 2011
long time - no post?
So. It’s been ages since I last posted, I apologise for that. College and my life got in the way of my hobby, well mostly. I’m actually ill at the moment which is the only reason I haven’t started the next doll yet… In the gap I have move out of my mother’s house and into a flat , which is fun and I’ve also adopted a little kitten, who I’ve called Suki and more frequently Suki-monster seeing as she decided to pull the hair of the last doll I made. Don’t fear though, I glued it back on and put her away safely… hopefully. And I finished my college course and will be started FD illustration and print soon :D I’m looking forward to it even thought I know its hard work.
Well I figure I should tell you about my next doll. i thought for a while to just make a normal human doll and make her some clothes and other stuff… but that would just be boring wouldn’t it? What I’m actually going to do is make a mermaid. Yurp a fully-jointed mermaid. Which is the other reason for not posting anything; I’ve been designing it and doing ALOT of sketches to figure it all out. Hopefully I will be able to post some pictures up of the sketches but I don’t have a camera or a scanner so you’ll have to bear with me while I borrow one of somebody.
In the meantime here my kitty!!!

Tuesday, 24 May 2011
Fished First Doll - Emily.

Because I made you wait so long for the pictures after I finished, I took loads. :D Hope you like. After I've sorted out my new flat and made sure the kitten wont try and eat my sculpey, I will be making a new doll. I'm not sure however whether or not I make another human doll or try out my idea on a mermaid doll.... I'll leave that to you. And of course there will be more, meny more tutorials now I've figured it out. (however her legs do need redoing )
Oh and I've also changed her name to Emily she insisted I'm afraid.
 ,
,


Monday, 16 May 2011
Apologies
I promise you, I am not ignoring anyone, My camera is broken so I can't take anypictures of my finished doll, or what I have been using her for in college.
:D yeh I maneged to get her into my work sneeky.
Hopefully I can get the camera fixed by the end of the day and I will show you what she looks like. Watch this space!
Saturday, 2 April 2011
The End is nigh
Ok so have have kept it a secret (mainly cos I lost the camera) but my first doll is almost done... just need to attach her legs... Actually I need to remake one I broke...
I decided that I would make a 'Test' doll instead of going straight into a material i didn't know too well so she's is supersculpy still...


Friday, 11 March 2011
Back From Holiday
If your wondering why I didn't post for two weeks - I appoligise I was in Disney World enjoying the sunshine and the insperation the parks gave me :D and appologiese for not telling you befor my internet crashed! Any way I will post you some sneek peaks of my doll tomorow but for today I leave you with a wonderfull Disney artist who mixes pop art in to the caracters.
Jenny Chung.

This one is my favourite :D and this is her blog http://najennya.blogspot.com/ if your interested
Sunday, 13 February 2011
Life Drawings
Because I have not been doing very much of my doll work being to engrosed in my college work I have decided to show you some my life drawing drawings :D It is extreamly relevent for making a bjd because if you don't know the body proportions or anatomy ypur going to get some really interesting dolls. And probubly should be done before you start sculpting, but if your like me you do it as you go.
So the Origanal drawing...

To this : It looked better without the tracing paper layer on but I was experimenting.

And two more I like.


I did about 12/13 drawings in 6 hours and then spent most of the next day sat in the canteen and libary drawing tiny pictures of people. I think I might have annoyed a few, but in an art college they should be used to it. I hope these few are usefull, if not then they're an insite into my college day.
And I have decided that instead of going straight into porcelain I will test the stringing system in pollimer clay first (and post how to do it!) seeing as this is just a hobby, I'm not to fussed really. :D
Wednesday, 2 February 2011
Not so much progress......
Rather unfortunetly over the last week There hasn't been any progress on my doll. My college work seems to be taking over and I am quite unhappy about this..... The few molds that are sanded are looking quite nice, and I didn't realize how bad some of the others were. Hopefully though, I can start working on them again and maybe I shall show you some more things from my sketchbook later this week.
I will however leave you with this picture.... I have plans to make her into a doll, any thoughts?

Saturday, 22 January 2011
Painted Dolls Head - Nahala.

This is the latest picture of the head. I panted on the features to see what she would look like and to see if she needed any more adjustments. I think maybe the eyebrows need bringing down a little. She's also missing her freckles at this point. I think her name will be Nahala.
Please tell me what you think.
And below are my very first attempts at molds, remember I told you that I made the first set the wrong size? Well these are the molds. You can see how the proportions have changed and I'm quite glad they have. :)

Please ignore the red lines - they were helping me to work on her, or don't if you like seeing that kind of thing.
Tuesday, 18 January 2011
Elbow Joing Tutorial.
At first I thought an elbow joint would be quite difficult to do, I wanted her to move just like a human and to do this I sketched a few ways out and finally decided that she would need two ‘balls’ to move properly. When I sketched this out I had no knowledge of Bjd or how anybody else had made them and was quite surprised to see later that so many people had had the same idea, although it does make perfect sense when you think about it. So when I came to making it I broke it down into shapes, a bit like you would when drawing and it's actually the easiest mold to do and only takes 30 minutes. It’s also my smallest mold at an inch big. Which is a good thing to talk about. All the measurements I say are for my own doll that I am making into Porcelain so I’ve taking into account the shrinkage rate of Porcelain, which is about 10- 15% (and I went for the middle and calculated everything at 13%) If you’re just using Super sculpey (or any other material that doesn’t shrink) then you don’t have to worry about this. But if you’re making a bigger or smaller doll don’t forget to adjust the sizes. It may sound silly but I forgot to take into account the shrinkage rate of Porcelain the first time I tried to make the molds and only realized half way through so I had to start all over again. I have the pictures of those molds somewhere… Anyway, here is my way of making the mold.
So step 1. Roll out two balls these will go inside the arm molds. Mine are 1 cm big, for both the molds. Tip. Put them in the oven to harden them, this will mean they keep the perfect round shape. I didn’t and kind of wish I had. Then make a small square about 3mm thick and about 1cm in size. Sandwich the square carefully between the two ball joints. It should look something like this…

It remindes me of a divide sign...
2. Next roll out a thin strip of super sculpey. You want it to be about 1cm wide and a few mm thick. The length doesn’t matter because we’ll cut it to size. Place the strip of sculpey roughly in the middle of the 'divide sign sculpey' and press firmly. Now wrap it around till it’s halfway around the ball joints. Trim any excess off. It should look a bit like this.


Gently squeeze in the middle so it's the same width as the arms and trim any sculpey that isn't needed.
3.
You'll notice if you tried to move the joints, that it gets caught on the sculpey at the sides. Trim little triangles out of all 4 corners and try moving it again. You'll find it works. If it doesn’t', you haven’t trimmed enough. Also in the picture above the elbow doesn't quite meet up, gently smooth the sculpey till the elbow joint touches the arm joints. If you want the arm to move like a humans arm, cheek that there is enough space between the two joints (the square) If not gently pull the balls away from the middle and add more sculpey if needed. A humans arm doesn’t lay completely flat so neither should your dolls.

4.This is the time to smooth everything out and make sure all the sculpey is firmly together. You also want to cheek that the centre of the ball joints, where the screw will go, is visible. I indented my sculpey just to make sure. It should start to look like the finished thing. To finish the Elbow gently but firmly pinch the back of the sculpey to make two indents. It should now look finished... And like this...

There we are. I hope I explained that well and its usefull to you. You can also use the same technique for the knee jonts, you just have to make it bigger. And as I've said this is just my way of doing it and yours does not have to be the same.
And just to keep you updated I have changed the nose and the lips of my doll, she looks much more oriental now and I will post some more pictures after she has been baked.
Friday, 14 January 2011
Doll Tutorials.
I found this blog, which has some tutorials that I thought were interesting, and I did have a question form Jane about it. So here you are! The head tutorial is practically good; I always have trouble with the lips. And of course while you’re doing anything referencing is always a good idea, I was glued to my anatomy books, and strangely my early drawing books where they show the human body in circles and lines. That helps to layer the sculpey up. So anyway the website is here: http://artdollartists.blogspot.com/
My Doll is currently being tweaked and sanded ready for casting. I want her body smooth and ‘bump’ free. Here she is, all her parts ready to be sanded smooth, still can't remove the marbles though :/

Seing as sanding isn't a very interesting process next week - or the weekend I will be posting a tutorial on how to make an Elbow/Knee joint and a sneek peek of my Dolls hair style :D
Wednesday, 12 January 2011
Head Mold Finished-ish


I'm so happy that I've finally finished all of my molds, and the head mold was the last. It’s perfect-ish maybe a little tweaking...! Which means I can now get on and sand everything smooth ready for casting. :D
Oh and I found this website - http://www.wildeimagination.com/ Which has some very nice bjd dolls on it and I currently want this one - I think I might buy myself an early birthday present maybe???

Tuesday, 11 January 2011
Doll Head Mold - Unfinished
It's been a busy few weeks in the new year for me, new computer, finishing off the doll molds and out and about catching up with friends :D but the most exciting thing I have to show you is the progress on my very last mold - The dolls head. It’s still not finished but I thought you'd like the sneak peak. The eyes are near enough done, the nose needs a slight tweaking and the lips are still bugging me I was going for Marina Bychkova's, Ruby lips... Oh and I haven't done the cheek bones yet... Or the ears... 

Oh and I'm back to college tomorow so the progress might start to slow down again...
Sunday, 2 January 2011
Happy New Year
Well It is a new year, and hopefully my doll will be made within the first few months. Unfortunelty for now I might have squashed part of the upper torso but it wont take me more than five minuits to fix that... Oh and it the 2nd day in a new year and I have a bloody cold and can't stop sneezing :/
I hope everyone's having a good new year and that the hangovers arn't to bad :D
I will post some new progress on the molds in the next few days. Till then I think I shall sleep.
Happy New Year. I hope its a good one full of intereting things and lots of creativity :D
Wednesday, 29 December 2010
Master Mold Making - Torso
Well for the last couple of days I have been hard at work, working on my master molds. The torso which was giving me so many problems is almost finished, the hands and feet are done and so are the legs and arms, plus their joints. All I have left is to fix a broken leg mold and make a head. Almost finished!!! Well sort-of. This process has taken me the best part of 6 months, several molds, for example I made the torso 3 times before I was happy with it. But I know I am a perfectionist and am happy with nothing less....
So here is the torso


I have done a lot of research on human anatomy and online tutorials, they really help :D
I started with the torso, it's easier to size everything against that, alternatively, draw to scale the size doll you want, remembering to accommodate for the shrinking of the clay, (I'm not aware if resin shrinks.) Porcelain shrinks by about 10 - 15 percent, I didn't do this for my first set of molds and had to re-make them. I've cut my torso in half-ish to allow for the movement I want in my doll, and it might make for easier stringing... but then again it might not.
Sunday, 26 December 2010
New Wig.

This is the new wig I made, just for a little practise and I'm still trying to figure out the best way to make them. I did this just before christmas but got a little too busy to post. The wigcap is felt which was fitted specifically to her head. Felt is nice, easy to use and you can make the wigcap as thick or as thin as you need. I then attached the mohair (forest fibers do excellent quality mohair!) starting at the back with superglue. I do NOT advise this, it makes a mess and ends up glueing your fingers to it more that the hair. I'm going to have to source some other type of glue- my dad says he has some very sticky clear glue I can use so I'll tell you of that as and when I do it. But a nice sticky glue that dries clear is the best thing to use... oh and one that is waterproof. Anyway, start with the mohair at the back and then at the sides, the next 'layer' should be at the middle of the back of the head (does that make sence?) then at the front. Allow the glue to dry then wash the hair. I wanted the hair to be wavy so while it was wet I plaited. You can also style it after the hair is dry. Mohair is a bit like human hair, which makes it perfect for the dolls hair.
Oh, and this Barbie is the one I was talking about in a previous post, my inspiration barbie :D Pocahontas.
Monday, 20 December 2010
Spring Joints - Research....

So... The 'fun' part, working out how the joints go together- I'm going to assume that evey doll artist has a slightly different way they prefer, this is mine. Not entirely sure how easy it will be to make but I don't like to do things the easy way. In my experience if it was easy you didn't do it right. I think I will add S links or something before connecting the ring to the hook/screw, that way the spring can move more and not be twisted, if that makes sence to anyone? As you can see the joint for the head has yet to be determind, I still can't figure it out. But the rest is quite simple.... or should be.
Saturday, 18 December 2010
My Research and Inspirations.
I love to do research, whether it for my own work or college work, I always find something I never knew about for at least 1 artist who I find truly inspirational. This time it was Marina Bychkova. Her work is amazing and almost exactly what I want to do, I think I've actually fallen in love with it. Gwendolyn and Ruby are my favourites and are so beautifully done. But obviously she has been doing what she does for a while and is very good at it, I can only hope in time my work is as skillfully done. I have been following her blog and am awaiting every new doll with anticipation. They truly are amazing and I can't believe I almost missed them completely.

Ruby
I've also looked at Aidamaris Roman, but there is something about the dolls that arn't quite right, and I think it might be the glass eyes. I do however, love the way he does the dolls hair and their costumes always have a lot of lace, I love lace. There were a few others I could mention but frankly the majority of the other dolls either scare me or freak me out- my dad has already requested the bride of chucky doll. I might change it to the bride of Frankenstien, although I don't want to be seen as copying Marina Bychkova.
I would also like to put in here that another big inspiration for my doll making is a Barbie that I have had since I was six years old, Disney's Pocahontas. Disney has, and always will be, an inspiration to me; it taught me how to draw and for that I will be forever grateful. As a child I hated the blonde, blue eyed Barbies and would always colour in their eyes and hair. Pocahontas had black hair and brown eyes that I never changed, and I loved her dearly. Unfortunately due to age, she is now breaking and I go very careful when handling her. I would put a picture up but right now I am waiting for the wig I made her to dry, then she needs putting back together so maybe I'll post one later.
So there you have it my inspirations for my doll.
Thursday, 16 December 2010
Project Idea.
The idea for my projects has been going for a while. I wanted to first make a porcelain doll at college 3 years ago and just never had the time. I was goint to make a very gothic doll to go against the idea of beauty but looking back lots have people have already done that and now it a very common thing to see. I have decided that normal porcelain dolls were pretty, but didn't move and to me this was a downside. I want to be able to move, bend, pose and play with my doll- generally procelain dolls just don't seem to do this. Its not what they were designed for and for me, this is a let down. So I've set out to make a movable porcelain doll and I have no idea how to do it, just a typical average project for me then. I started by jumping straight into designing and making some quick ideas. I call these my initial idea's, they usually don't work but they give me more of an idea of what I want to do and how it would work. During this process I make a few small maquet, paper mached' a barbie, took apart a wooden doll to see how they go together and did some initial research into porcelain dolls; how they are made, by whom and when. Its good to get to know the background of what you are doing...... or at least I think so.
This is a picture of my initial idea, with a few ruff workings out. It didn't take me very long to do, and it doesn't quite have all the movement I want but I can work on that.

The next step is to reflect on what I have already learnt. This is a very important step if not the most important thing to do - reflect, and strangly something I always forget to write about in my college work. So I look at everything I've done, what I have learnt like: that the wooden dolls are held together with springsusefull for putting my doll together and more research will be neaded here. They have something called a ball joint, which is how the doll moves usefull again. That trying to paper mashe a barbie is really difficult and gets you covered in glue... I look back at my idea and see how I can push it forward, like by making it move like a human, the joints will require me to do some more research into human anatomy. So the next step from here I usually find is research, I have some clear things to research right now that will take my work further and improve it.
Friday, 10 December 2010
New project new blog.
Okies, right. I have decided to start using this more and I'm going to use it to share my progress on a piece of work I am working on and all things relating to it, including influences and well... stuff. Blogging is completely new to me and I'm sure my dad will agree with me, but I don't use computers a lot, in fact, I could live quite happily without one. But I've decided this would be a perfect way of people viewing the development process, seeing as some people are interested. So I'm off to go and take photographs for my next blog... Oh and seriously please just ignore the bad spelling... Please.
Subscribe to:
Posts (Atom)